Building Custom integrations
ZenQMS's Custom Integration Builder lets you build Custom integrations that connect ZenQMS to other applications and services you use. This article describes how to build Custom integrations.
If you have not done so yet, please first review the Getting Started guide.
Creating a new Custom integration
To create a new Custom integration, first log in to ZenQMS. Next, navigate to Integrations > Custom Integrations. Here, you will see all of the Custom integrations that you've built.
To create a new Custom integration, click + Custom integration.
Steps
Actions, like downloading a file from an SFTP server or posting a message to Slack, are added as Custom integration steps. Steps are executed in order, and results from one step can be used as inputs for subsequent steps.
Steps are run in order from top to bottom, and you can add conditional logic to your Custom integration with branching, or run a series of steps within a loop. If one step throws an error, your Custom integration stops running until it is invoked again (though you can decide how to handle errors).
The trigger step
The first step of your Custom integration is the trigger step, which determines when your Custom integration will run. The triggers article details how triggers work and how to invoke your Custom integration.
Adding steps to your Custom integration
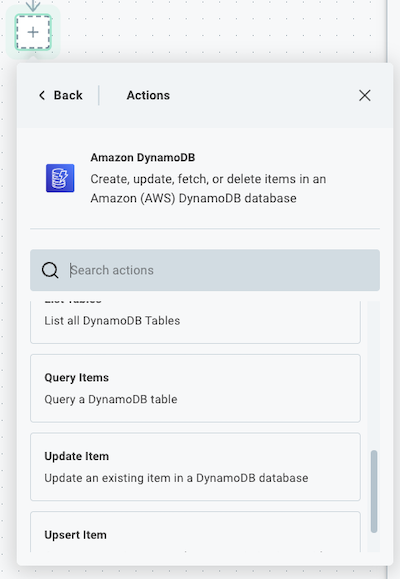
To add a step to your Custom integration, click the + icon underneath the trigger or another action.
Select the connector and action you would like to add to your Custom integration. For example, you can choose the Amazon DynamoDB connector, and then select the Query Items action.
Changing step names and descriptions
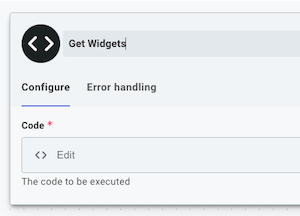
By default, steps are uniquely named after the action they invoke (so, they're named things like CSV to JSON or Delete Object). To override that default name, select the step in the Custom integration and then click the step's name in the configuration drawer.
Like using descriptive variable names in a computer program, renaming steps allows you to give your steps descriptive names.
Rather than HTTP - PUT, you could give your step a name like Update Record in Acme.
We recommend giving your steps descriptive names and descriptions so your team members can read through your Custom integrations and understand their purpose more readily.
Passing data between steps
As your Custom integration runs, each step generates a step result. The results of one step can be fed into subsequent steps through step inputs.
Step results
Each step in your Custom integration produces a result. For example, an SFTP - List Directory step will return a list of strings representing file names.
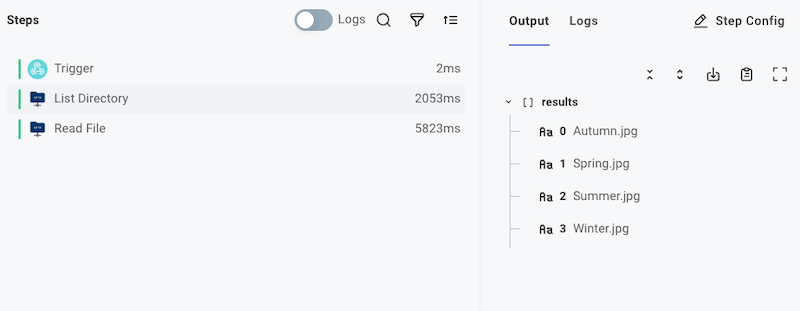
An SFTP - Read File step will return the contents of a file that is pulled from an SFTP server (in this example, an image was fetched).
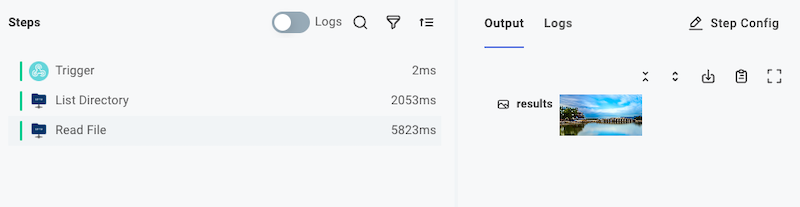
Step results take one of three forms:
-
A primitive value, like a string, boolean (true/false), number, an array of primitives, or even a
nullfor steps that have nothing to return. -
A JavaScript Object with several key-value pairs.
{ "key1": "value1", "key2": ["foo", "bar", "baz"] }You can reference objects' keys using "dot notation". For example, to reference
"baz"above, a subsequent step could reference this step'sresults.key2.2(note the.2references "the item at index2in the list"). -
A binary file. Binary file outputs are objects that contain a
contentTypeproperty (like"image/png") and adataproperty containing the contents of the file in a JavaScript Buffer.{"data": Buffer,"contentType": "application/pdf"}When viewing a binary file that can be rendered in a browser (like an image), you'll see the image in the Output drawer. If you've downloaded a different binary file type (like a PDF or MP3), you'll see it represented like
data<123456 bytes>.
The trigger's step result
The trigger step's result contains two major things:
- Metadata about the execution.
For example, your trigger's
result.invokeUrlcontains the webhook URL for your Custom integration. Theresult.startedAtproperty contains the time at which the execution began. - The webhook request (if your Custom integration was invoked via webhook), including:
- HTTP headers. If your webhook request included custom HTTP headers, you can reference them from your trigger's
result.headers.header-name. - Request body.
result.rawBodycontains the raw, unparsed body that was sent to your Custom integration webhook URL. If you sent JSON data, the JSON will be parsed underresult.body.data.
- HTTP headers. If your webhook request included custom HTTP headers, you can reference them from your trigger's
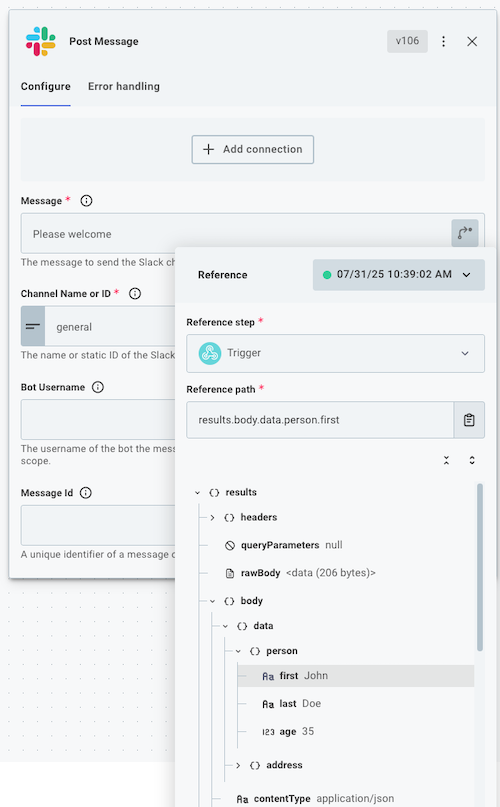
Other steps in your Custom integration can reference both the metadata and webhook request data contained in your trigger's result.
Step inputs
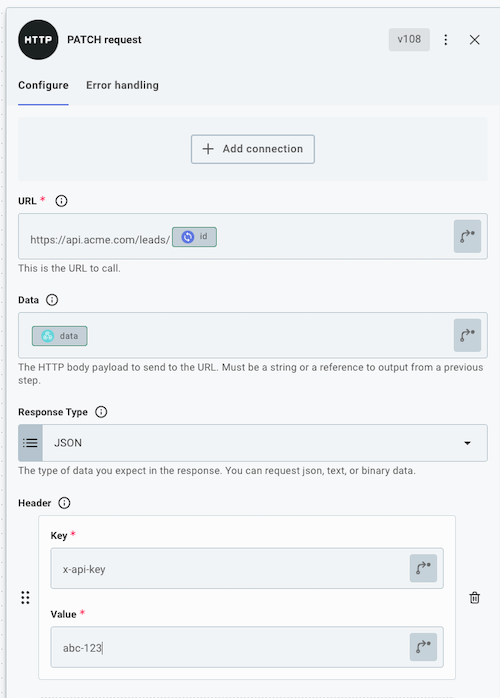
Each step of your Custom integration requires a set of inputs. An input might represent a RESTful URL to fetch data from, an ID of a Salesforce Lead to update, the name of an Amazon S3 bucket, or the contents of a file to upload.
Some inputs are required, while others are optional.
The inputs you specify can be static strings (like an Amazon S3 bucket name), a reference to a previous step's results (like a Salesforce Lead ID), or a combination of the two (like a RESTful URL that has dynamic portions).